どうも秋山です。
今日も寒いっすね~ 仕事終わったら、あったかいもの食べに行く!
では、MAYAの学習を始めましょう!
後で他の人に教えるつもりで学習を進めていくと効果的ですよ。
前回の続きです。この章は、MAYA2016用です。MAYA2017以降をお使いの場合は、やらなくていいですよ。
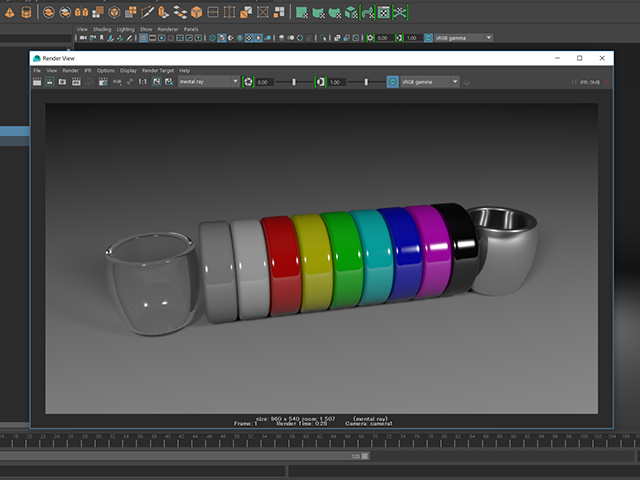
今回は、こんな感じになりますね。
プロジェクトディレクトリーをセットする
前回作成したhorizontStudio_projectにセットしてください。
ささっとセットできましたか?File→Set Projectを実行ですよ!

horizontStudio_projectを選択して、右下のSetボタンを押してください。

File→Open Sceneを実行して、前回作成したhorizontStudio_01.mbを開いてください。

ライトを作成する
Create→Lights→Point Lightを実行して、ポイントライトを作成してください(pointLight1)

チャンネルボックス(CB)で数値を入力して、pointLight1を以下の場所に配置してください。
tx=-80、ty=100、tz=-10

7キーを押してライティング表示にしてください。

pointLight1を選択したまま、Ctrlキー+aキーを押してください。
アトリビュートエディター(AE)にpointLightShape1が表示されました。
pointLightShape1のアトリビュートを以下のように設定してください。
Intensity 7000
Decayrate Quadratic
Intensityは、光の強さです。
Decayrateは、光の減衰率です。Quadraticは、現実の光の減衰率と同じ設定です。今は、難しいことは抜きにして、まあ、そういうものだと思っておいてくださいね。

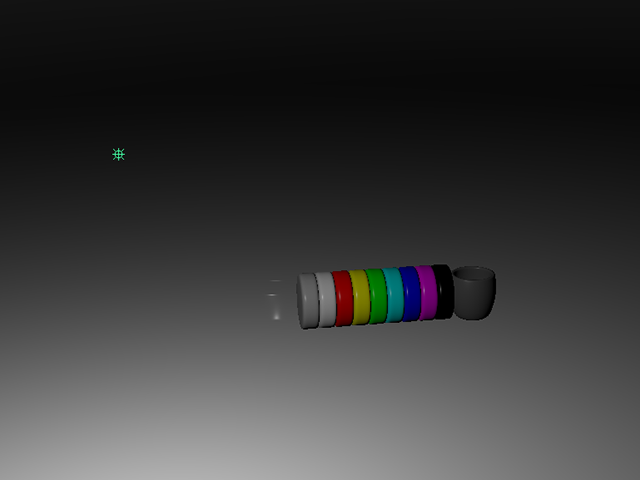
次の画のようになりました。
レンダリング用のカメラを作成する
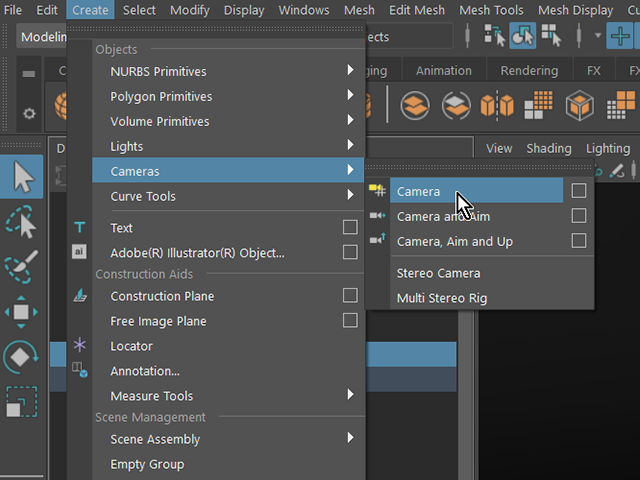
Create→Cameras→Cameraを実行して、レンダリング用のカメラを作成してください(camera1)
camera1を見やすい大きさに拡大してください。拡大してもレンダリングに影響はありません。
camera1を少し上に移動してください。

パネルメニューのPanels→Perspective→camera1を実行して、パースビューをcamera1の視点にしてください。

Outlinerでobj_grpを選択してください。

fキーを押してください。
camera1のビューの中央にobj_grpが表示されました。

Resolution gateボタンを押して、レンダリングされる範囲を表示してください。
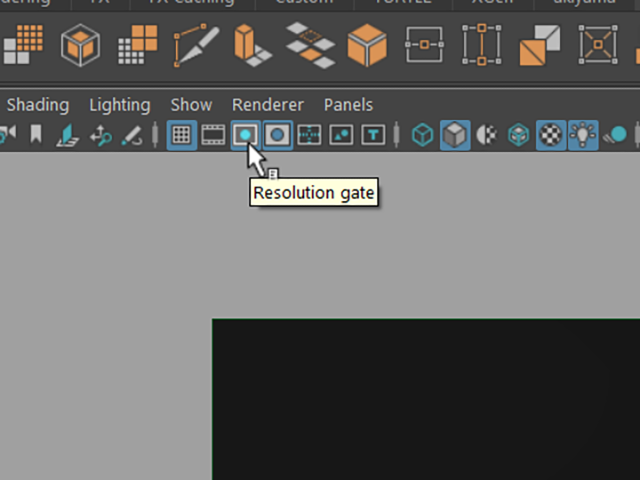
さらに、camera1の視点でぐりぐりやって、obj_grpがフレーム内にいい感じに収まるようにしてください。
次の画を参考にしてください。
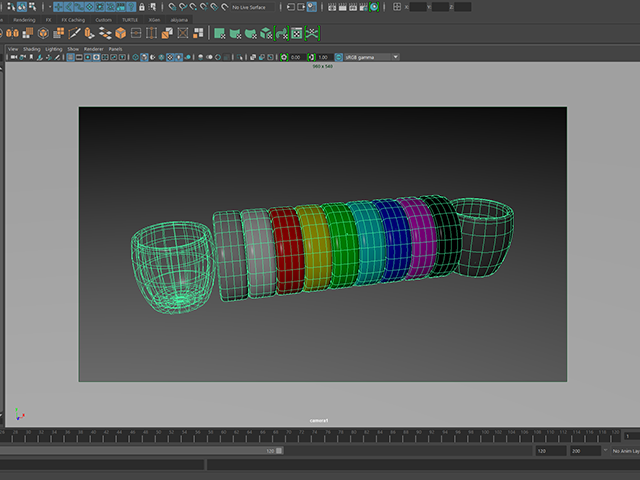
camera1の視点でレンダリングする
Open Render Viewボタンを押して、Render Viewを表示してください。

Render Viewが表示されました。
使っているモニターの解像度によっては、Render Viewの大きさが、次の画と違うかもしれませんが、気にしないで進めてくださいね。

Render ViewのメニューのOptions→Test Resolution→Render Settings(960×540)を実行してください。
Render Settingsに設定されている画像の大きさでレンダリングされるように設定しました。

Render ViewのメニューのRender→Render→camera1を実行してください。
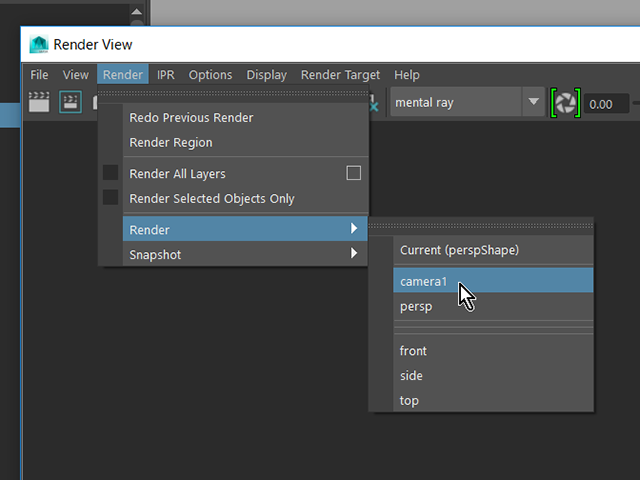
camera1の視点でレンダリングすることができました。
まだちょっと暗いですね。
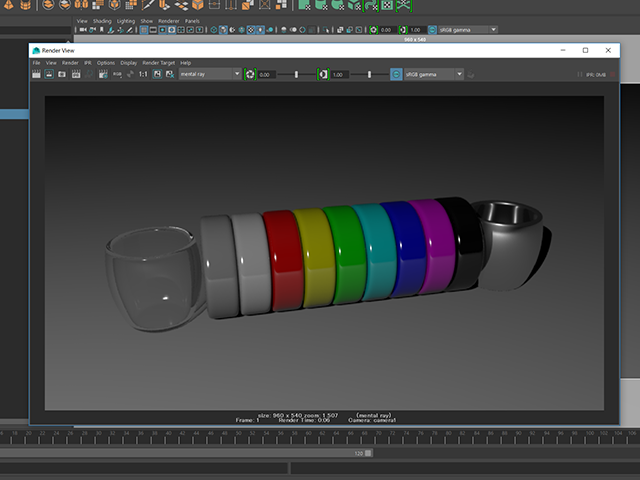
Render Viewを閉じてください。
ライトを複製する
作業を続けるために、ビューをパースビューにもどそうと思います。
スペースバーを押しっぱなしにして、Hotboxを表示してください。
Hotbox中央のMaya→Perspective Viewを実行してください。

ビューをパースビューにすることができました。

今後は、camera1を動かさないように注意してくださいね。

Outlinerで、pointLight1を選択してください。
Ctrlキー+dキーを押してください。
pointLight1を複製することができました(pointLight2)

CBで数値を入力して、pointLight2を以下の場所に配置してください。
tx=100、ty=100、tz=-10
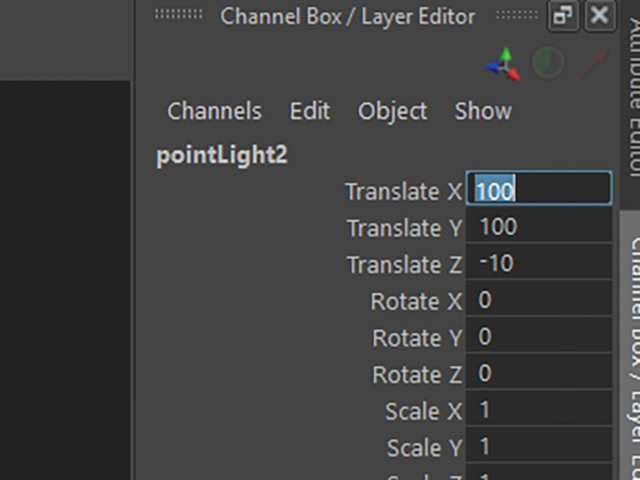
パースビューで見ると、こんな感じになってますね。

camera1の視点でレンダリングしてください。
先ほどと同様で、Render ViewのメニューのRender→Render→camera1を実行ですね。
まだちょっと暗いですね。影の輪郭も硬い感じです。

ライトの影をぼかす
pointLight1を選択して、Ctrlキー+aキーを押してください。
AEにpointLightShape1が表示されました。
Shadows欄をクリックして、アトリビュートを表示してください。

Shadows欄をずっと下のほうにスクロールしていくと、Raytrace Shadow Attributes欄があります。
以下のように設定してください。
Light Radius 20
Shadow Rays 20
Light Radiusは、影のボケ具合です。
Shadow Raysは、影の計算制度です。
pointLight2も同じ設定にしてください。

camera1の視点でレンダリングしてください。
影がぼけたので、やわらかな陰影になりました。

シーンデータを保存する
シーンデータを保存しようと思います。
File→Save Scenes Asを実行してください。

File name欄にhorizontStudio_02という名前を入力して、保存してください。
自分のプロジェクトディレクトリーのscenesフォルダに保存してくださいね。

今回は、ここまでです。次回、間接光をレンダリングしようと思います。
ライティング・レンダリング②(MAYA2016) まとめ
この章では、正面上の左右から2つのライトでライティングしました。
レンダリング用のカメラを作成して、その視点でレンダリングしました。
ライトの影をぼかしてレンダリングしました。
シーンデータを保存しました。
この章で学んだことを、他の人に教えることができますか?教えることができるなら大丈夫です。
もし、そうでない場合は、もう一度復習しておいてくださいね。
今回はここまでです。
よくがんばりました。
お疲れさまでした。
もし、もっとまとめて学習を進めたいという人は、ご相談ください。家庭教師や事務所での研修も受け付けておりますよ。